
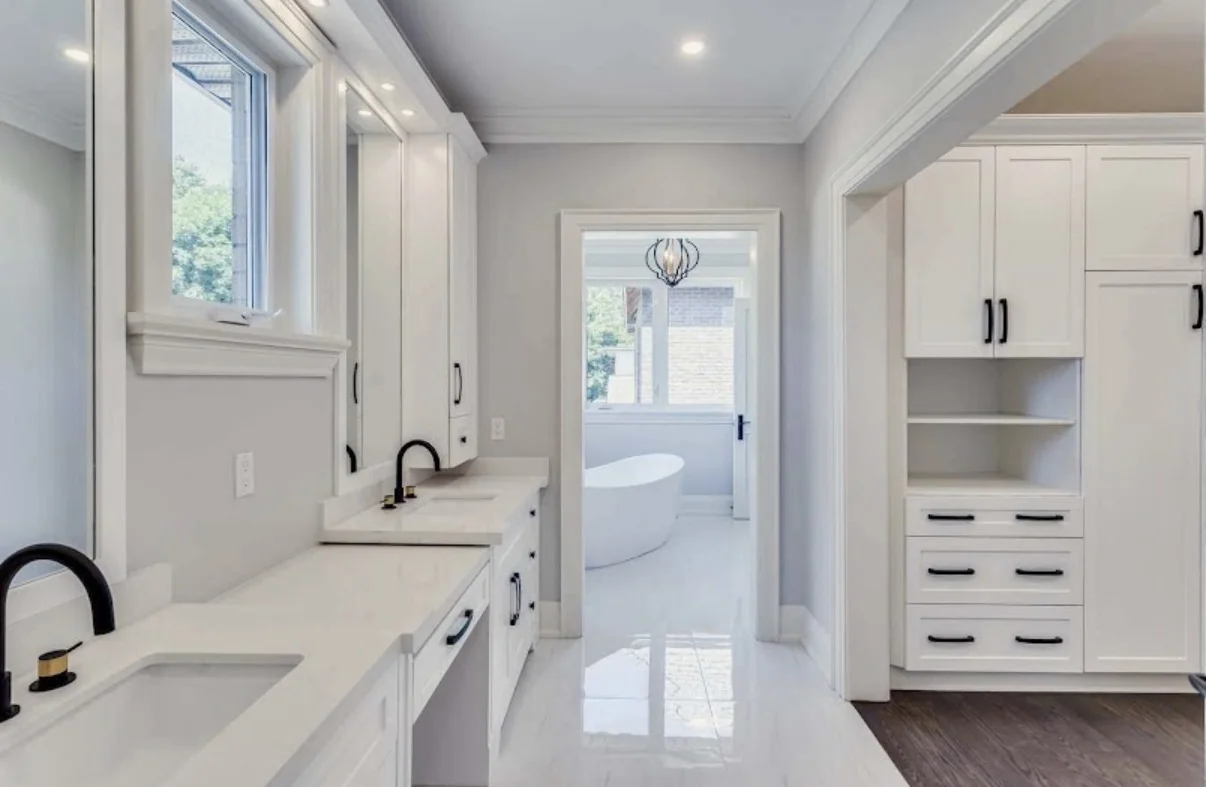
Cabinet finish selection should balance the architecture, available light, daily handling, and the condition of the existing doors and frames. Color and sheen are approved together because each changes how the other is perceived.
Select sheen with the room in mind
Sheen changes how cabinetry holds light. A quieter finish can soften a large wall of millwork. A more reflective finish can sharpen profiles and make color feel deeper. The right level depends on the door style, room lighting, and the visual role of the cabinetry.
Durability should be evaluated as part of the complete coating system. Surface preparation, primer compatibility, cure, and daily use matter as much as the sheen name printed on a label.
Review color beside fixed materials
Cabinet color should be viewed beside the stone, tile, flooring, hardware, and adjacent wall finish. A neutral can shift noticeably when it meets a warm countertop or cool daylight.
We recommend a finish sample on a representative door or panel whenever the decision carries across a large kitchen. This shows the true relationship between color, sheen, profile, and room light.
Preparation determines the quality of the finish
Cabinet refinishing begins with cataloging and protection. Doors and drawers are removed in an organized sequence. Surfaces are cleaned and prepared before primer and finish coats are applied.
Existing damage, open joints, and unstable coatings should be addressed before finishing. The goal is not to hide the substrate. It is to create a sound foundation for a controlled sprayed surface.
Plan for cure and reassembly
A finish can feel dry before it reaches full service readiness. The schedule should allow the specified coating to cure before normal handling resumes. Reassembly and adjustment are completed after the finish is ready for that stage.
Care guidance should match the installed coating. Gentle cleaning and appropriate cure time help preserve the finish after handover.