
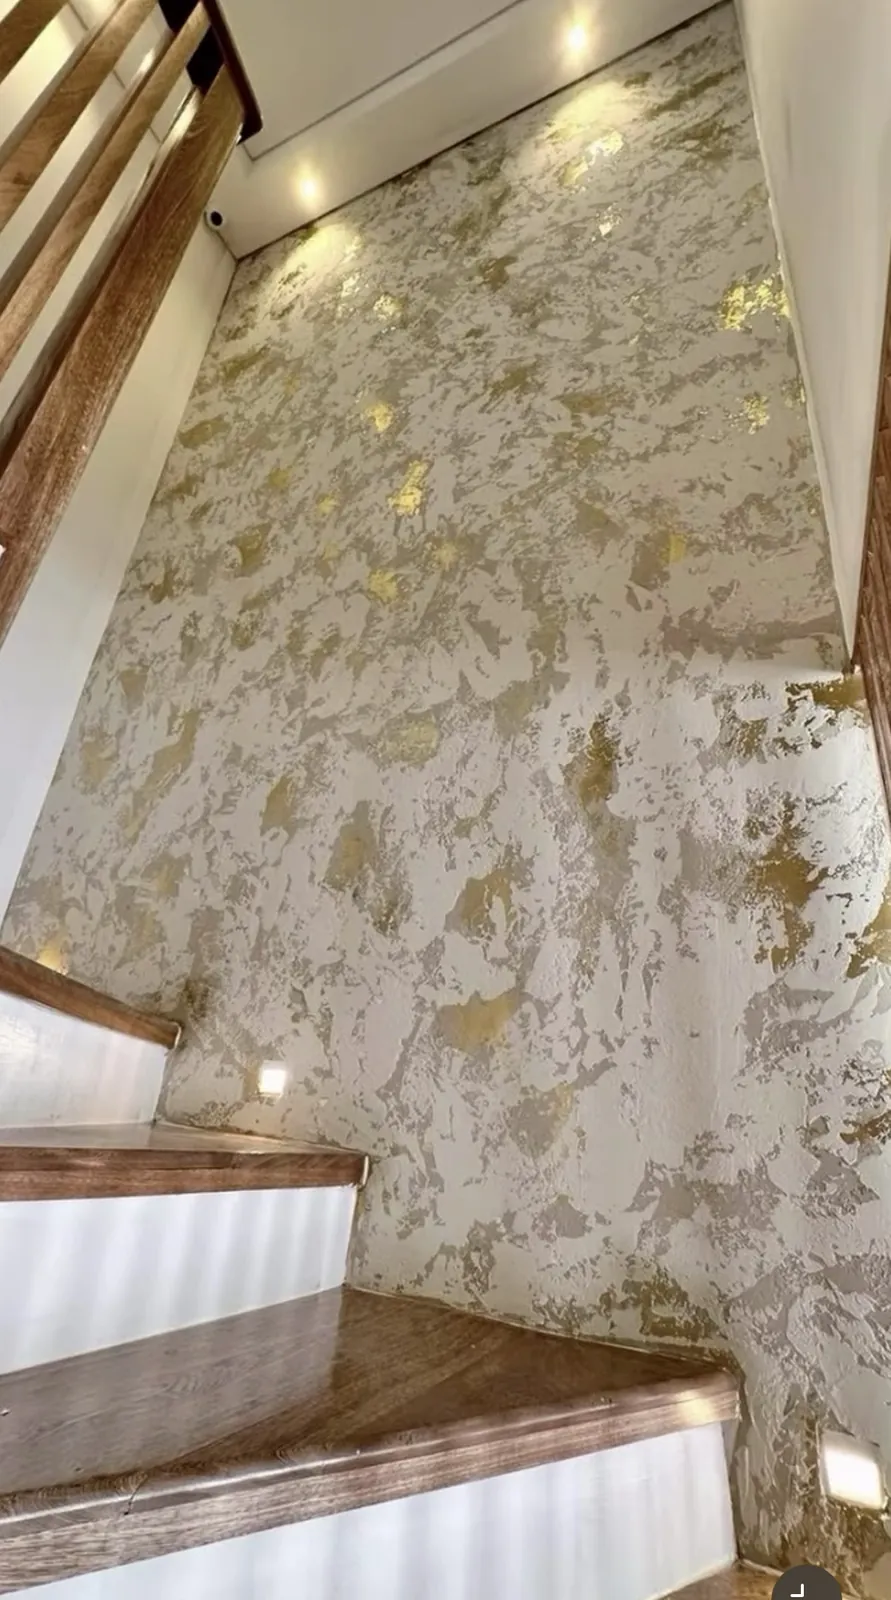
A useful decorative finish quote begins with the actual room. Area, surface condition, access, protection, repairs, the selected service, and a room scale sample all help define a scope that can be reviewed with confidence.
What should a decorative finish quote describe?
A decorative finish quote is most useful when it describes the work that can be seen and coordinated in the room. It should begin with the intended area, whether it is a feature wall, fireplace surround, ceiling, stair hall, or connected planes. The finish selection matters too. Venetian plaster, limewash, microcement, and specialty decorative coatings do not ask the same things of a room or its substrate.
The scope should also separate visible finish work from the preparation that supports it. Existing coatings, repairs, plane correction, primer, base coats, finish layers, and protective treatment may all be relevant. A detailed review identifies which items belong in the proposed system rather than assuming every wall starts from the same condition.
A quote is a project record, not only a number. It gives the owner, designer, and builder a shared description of the selected finish, the areas included, the preparation anticipated, and the items that still need confirmation. That clarity is especially valuable when a hand applied surface will be viewed closely in changing light.
Which site conditions change the scope?
Surface condition is the first question. Decorative plaster requires a wall that can support a continuous hand applied finish, so repairs and plane correction are completed before the mineral base is installed. Previously painted drywall may need a compatible primer for limewash. With microcement, the assembly below the visible finish, including existing joints and changes in substrate, must be reviewed before work begins.
Access changes how the work is planned. High ceilings, stairwells, detailed trim, occupied rooms, furniture, and adjacent finished surfaces all affect how a crew reaches the area and keeps the work zone controlled. Protection is not an afterthought. Floors, millwork, furnishings, and nearby finishes need a considered approach that matches the room and the selected application method.
Repairs deserve their own discussion. Cracks, failed patches, open joints, unstable coatings, moisture history, and uneven planes can change the preparation route. A finish cannot correct structural movement beneath it, and a decorative surface can reveal poor preparation. Identifying these conditions before the finish is approved provides a more realistic basis for the proposed work.
Why approve a sample before finalizing the finish?
A color chip can point to an undertone, but it cannot show the full character of a hand applied surface. Venetian plaster can carry depth, polish, and trowel movement. Limewash has natural variation that may read as subtle or more pronounced. Microcement creates a more continuous architectural field. A room scale sample makes those differences easier to judge where the finish will live.
The sample should be viewed in the room's daylight and artificial light, ideally on a vertical surface when the work is on a wall. It can establish color, movement, sheen, contrast with adjacent materials, and the degree of visible variation the project team expects. A large sample also reveals whether corners, glazing, grazing light, or a long wall change the way the surface reads.
Once accepted, the sample becomes the visual reference for production and review. If the specified material, substrate preparation, or finish method changes, the sample should be reconsidered before full application. This is not a promise that a handmade finish will be mechanically identical from point to point. It is a practical way to agree on the intended range and the complete system behind it.
What should you send before asking for a review?
Start with clear, current photos of each proposed area. Include wide room views, close views of cracks, patches, joints, peeling coatings, water affected areas, or other conditions that may affect preparation. Photos of adjacent stone, tile, millwork, flooring, and lighting are useful when the new surface must work with materials already in place.
Provide approximate dimensions for every wall, ceiling, floor, return, fireplace, or built element in scope. A simple sketch can help show openings, corners, stairs, niches, and changes in plane. It is also helpful to identify the desired service or the finish direction under consideration, even if a final choice will depend on a sample and substrate review.
Finally, share the desired timing and any coordination needs such as other wall work, fixtures, millwork, or occupancy. Timing is information for planning, not a fixed commitment before the room and system are reviewed. With those details in hand, the conversation can focus on scope, samples, access, protection, repairs, and the finish that suits the project.